Add a Restricted Security Types
1. Click the Admin tab at the top of the screen.
2. Click the Restricted Security Types tab. The Restricted Security Types page is displayed with a tabular view of the current securities that are restricted.
3. Click on Add a Restricted Security Type.
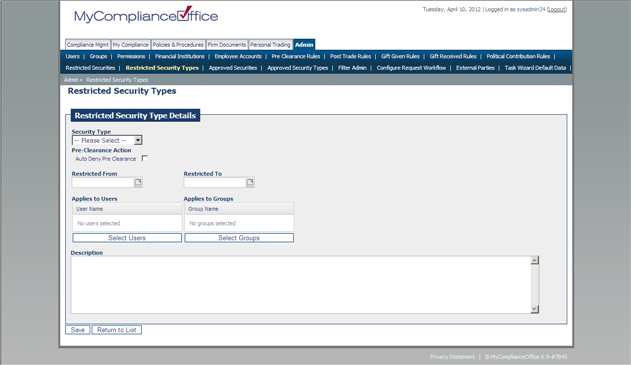
4. Enter the following information:
• Security Type -choose the relevant type from the drop-down list of security types.
• Pre Clearance Action - check the Auto Deny Pre Clearance box to ensure the security type is automatically rejected if included on a pre clearance request.
• Restricted From - select the date the restriction is to be effective from.
• Restricted To - select the date the restriction is to be lifted.
• Applies to Users - select the users the restriction is to apply to.
• Applies to Groups - select the groups that this restriction is to apply to (ignoring the users and groups fields will restrict the security type for everyone)
• Description - enter any additional details that may be relevant about the restriction.
5. Click on Save to submit the restriction (or Cancel to return to the Restricted Security Types page.)
Created with the Personal Edition of HelpNDoc: Easy CHM and documentation editor